Many people nowadays use Mac, MacBook Air, and MacBook Pro, but they don’t know the tips and tricks through which they can become pro users.
It is not a new thing that while using Mac, you do not know many things like how to ss on Mac, how to crop a screenshot on Mac, or how to print a screenshot on Mac.
This article is a detailed discussion about how to take screenshots on a Mac. Although taking a screenshot on Mac only requires clicking on a few keys it’s still an issue since most people have migrated from using Windows to MacBook.
Taking screenshots on a Mac has become a difficult task. Although the MacBook Air and MacBook Pro have modified much, taking a screenshot of them is a frequent search question on the Internet.
We have tried to make this article as informative and easy as possible to make Apple user’s life much easier.
Basics of Mac Screenshot
Before we discuss how to ss on Mac, let us first tell you a bit about a screenshot of Mac devices. The answer to how to take ss on Mac, MacBook, MacBook Air, and MacBook Pro is the same.
There is not a specific button for print screens available on Apple products. However, there is a menu available. After some modifications when macOS Mojave was released, Apple revolutionized the Mac screenshot capabilities.
It introduced a single command that led to a screenshot menu. All you have to do is learn that command to make your screenshot-taking experience easy.
In an Apple product, you only have five options for which you can take a screenshot. Apart from that, people usually prefer to take ss on MacBook Air or MacBook Pro by using a third-party application.
How to Take SS on Mac – Macbook Air and Pro
Following are the basic methods by which you can take screenshots on Mac, MacBook Air, and MacBook Pro devices.
Capture Screen From Menu
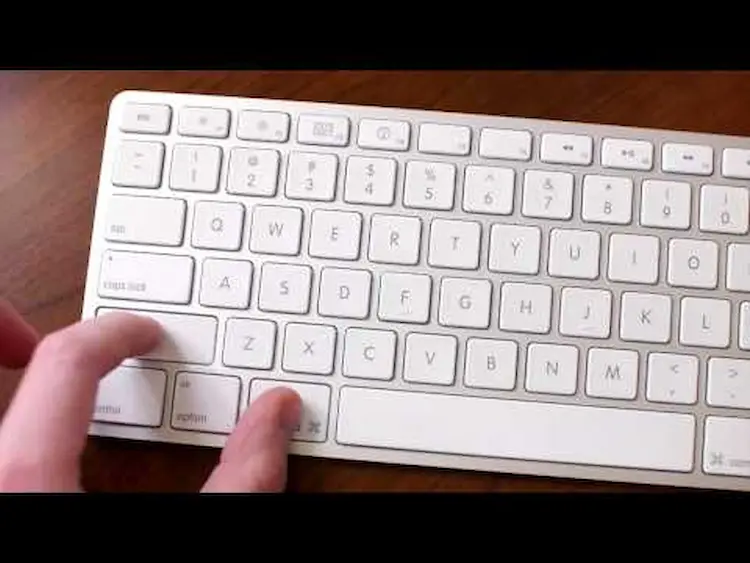
An easy way to take a screenshot is by pressing command+ shift +5 to open the screen capture menu. In this menu, you need to fulfill the following steps to take a screenshot on your Mac.
Not only you can capture a screenshot with this method but you can also at the same time edit your screenshot with text, emojis, or shapes.
First, you will capture the entire screen, selected windows, and a portion of the screen, you can also record the entire screen or a portion of it. On the right side of your MacBook screen, you will see options where you can store the screenshot.
The Default Shortcut for Taking a Screenshot on Mac
One of the easiest and quickest ways to take a screenshot on your Mac is by pressing command+ shift +4 all at the same time. Then you will move the cursor on the area you want to capture.
You will click the mouse button or press enter once you have selected the desired area. The screenshot will be saved in your Mac HD (pictures screenshot folder).
You don’t need to keep all your screenshot images in this folder. Just like your Windows desktop, you can move the screenshot to a different location on your Mac.
Video Screenshot by Using Mac a Screenshot Shortcut
If you desire to take video recordings all you have to do is press command+ shift +5. Some icons will pop up, and you will take the cursor to the 4th and fifth icons.
The fourth one allows you to take a screenshot recording of the whole screen, while the fifth one allows video recording of a portion of the screen.
Print Screen to Take SS on Mac Devices
You can take a screenshot of the whole screen by only pressing the buttons, including command plus shift +3, simultaneously.
The screenshot will appear on the screen with the name PNG file you can rename it later. You can open the screenshot by double-clicking on it and editing it according to your choice.
Take a Screenshot by Using the Touch Bar on Mac Computers
If you are used to taking screenshots on a Windows desktop with the help of a button. You want the same thing on your Mac. Yes, there is an optional dedicated button through which you can take screenshots on your MacBook.
All you have to do is go to the access system preferences (keyboard), you will click on the customize control strip, select the location of the screenshot button on the Touch Bar, and finally save the changes.
Through this easy procedure, whenever you want to take a screenshot, you can do it with the help of Touch Bar. By selecting the screenshot button, a screen capture menu will pop up.
If you desire, you can also change the saving folder for the screenshots. You can capture the whole screen or a selected area. By moving the cursor, you can successfully take a screenshot.
Taking a Screenshot on MacBook with the Help of a Preview
This is a very easy and quick way to capture screenshots on a Macbook. All you have to do is go to the preview menu; you will find a photo with an hourglass. Click on it. Once you receive the file in the menu bar, an option will pop up about taking a screenshot, often full screen or a selected portion.
The screenshot you will take will be saved in the designated folder automatically. With the help of the preview option, you can further add text, emojis, or stickers to your screenshot.
Third-party Applications for Taking Screenshots on Mac
Even after following the basic methods for taking a screenshot on Mac, you do not find it interesting. Then the last option is to install third-party applications through which you can easily take screenshots, save, and edit them.
The following third-party applications take Better screenshots on your Mac devices;
- Skitch – Snap. Mark up. Share
- Shottr
- Snagit
- Monosnap
How to Crop Screenshots on Mac
The answers to how to crop a screenshot on a Mac, how to crop a screenshot on a MacBook, how to crop a screenshot on a MacBook Air, and how to crop a screenshot on a MacBook Pro are the same as mentioned above.
Final Thoughts
You have multiple options on how to ss on Mac. Either you can use the default inbuilt options of your MacBook, or you can download a third-party application from the App Store for taking screenshots.
The rest is the same you can save them in any folder you like, rename them, or make changes to them.